Recurring Pay By Links
Other than the recurring payment transaction, there are quite a few components to a subscription solution that a merchant needs to setup, such as:
- Maintaining customer detail
- Maintaining subscription detail per customer w.r.t. the payment amount, period/frequency, next due date, etc
- Managing scheduler to trigger payments against subscription data present
- Maintaining subscription payment status, etc
Geidea provides you with all of the above and more through the 'Recurring Pay by Link' feature, right from within the merchant portal.
You can utilize Recurring Pay by Link to setup subscription payments unique to your customers and business. It allows you to setup all essential aspects required for a payment subscription to run after which we take care of collecting payments for you based on the defined schedule, while you view your subscription's status on a comprehensive dashboard.
We provide you with the following two options to collect recurring payments:
1- Recurring Pay by Link: It automatically sends a payment link to your customer based on the set schedule
2- Recurring Payment Processing based on Saved Card: Sends a payment link for the first time, on successful payment of which, customer's card is saved. Subsequent payments as per the recurring schedule are debited automatically using the customer's tokenized card.
By utilizing recurring pay links, you can streamline your payment process. Payments are automatically processed at the designated intervals, eliminating the need for manual invoicing or payment reminders. This provides a seamless experience for your customers, as they no longer have to remember to make regular payments or repeatedly input their payment information.
When to Enable Recurring Payment Links
With Recurring Payment Links, merchants can effortlessly schedule the sending of payment links to their customers at regular intervals as part of their service arrangement. This feature lets merchants choose the cycle and frequency for sending payment links during the subscription setup. It grants merchants enhanced control and flexibility in managing their recurring payment collections, ensuring a smooth and convenient experience for both merchants and customers.
Below is a step-by-step procedure on how to create a subscription using Geidea Recurring Pay by Link:
- Login to the Geidea Payment Gateway Portal

- Go to the subscription and Create
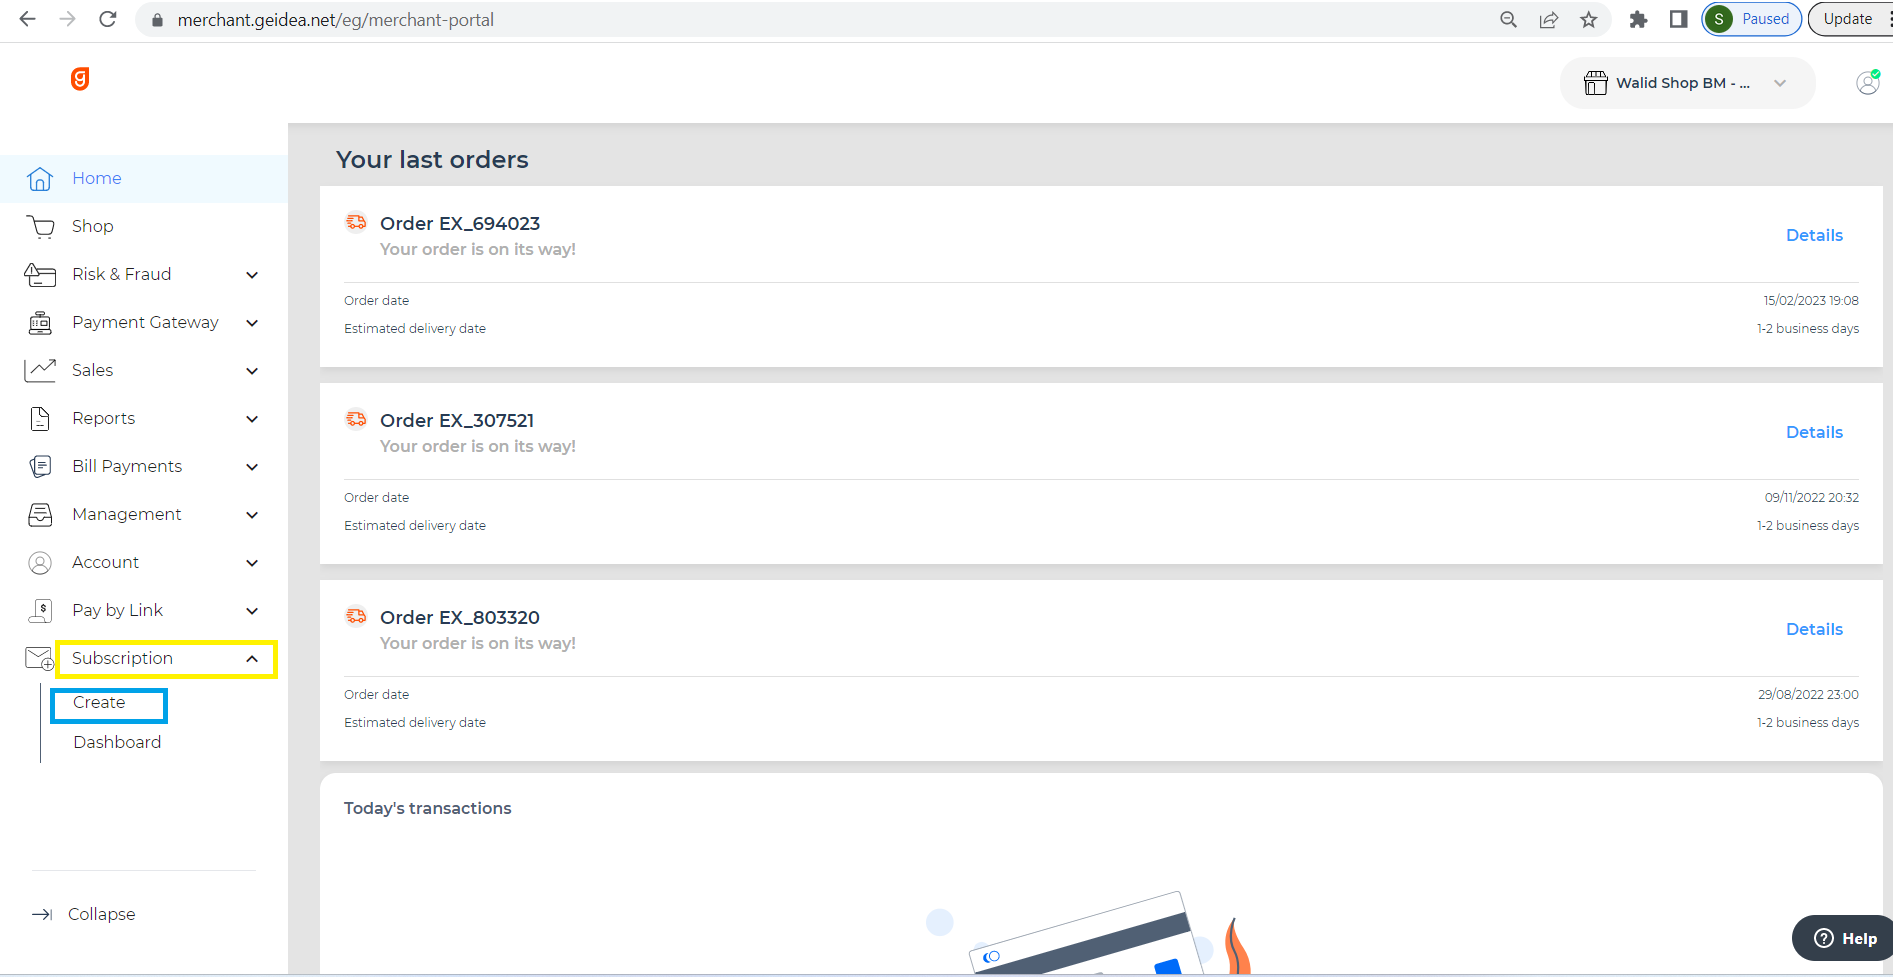
- Once you click on Create Subscription you have a set of mandatory fields that should be filled as indicated below:
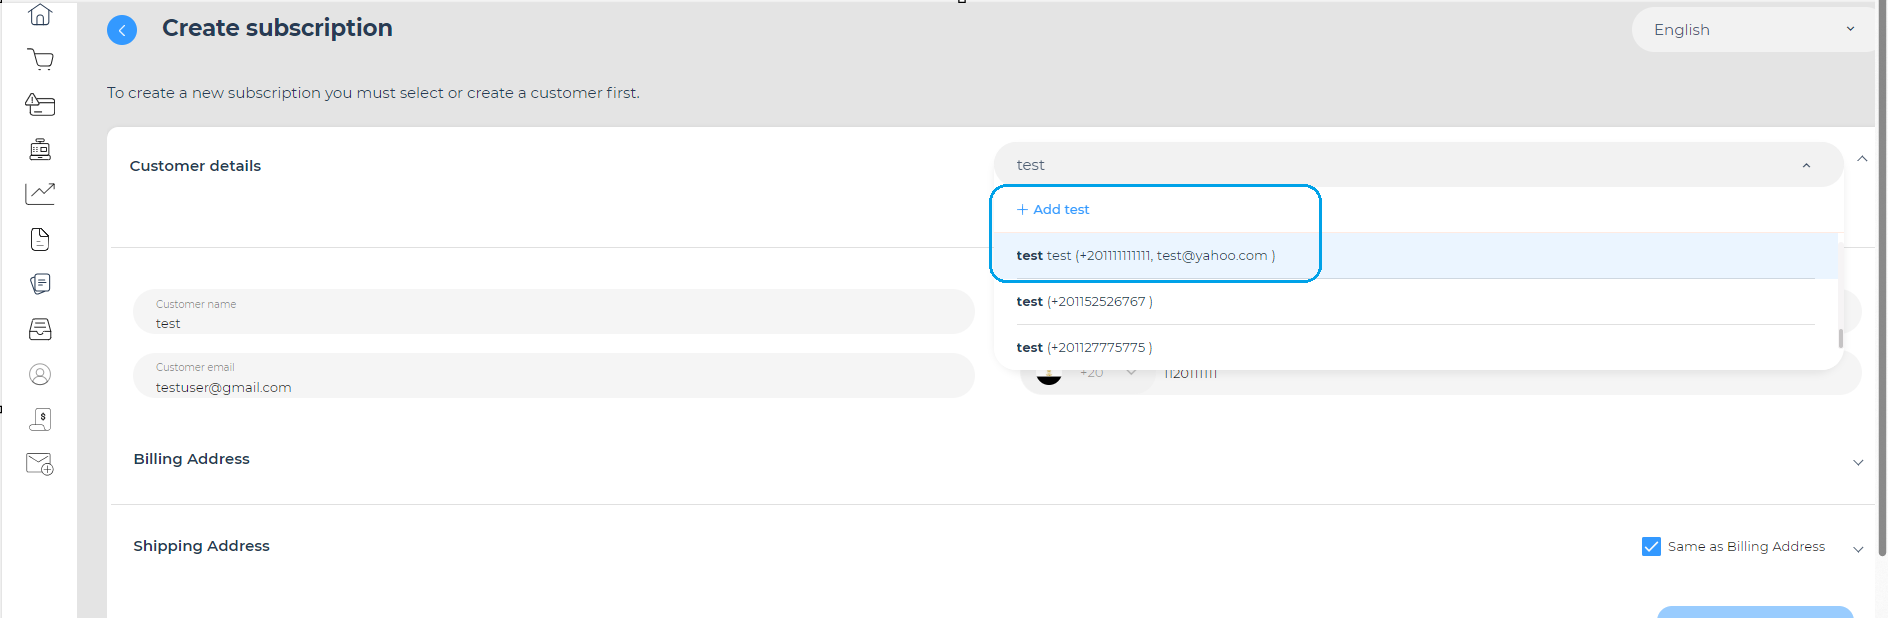
Customer Details: Please provide the necessary information for the customer in this field. You can either select an existing customer from the list or create a new customer by entering their name, email/phone.
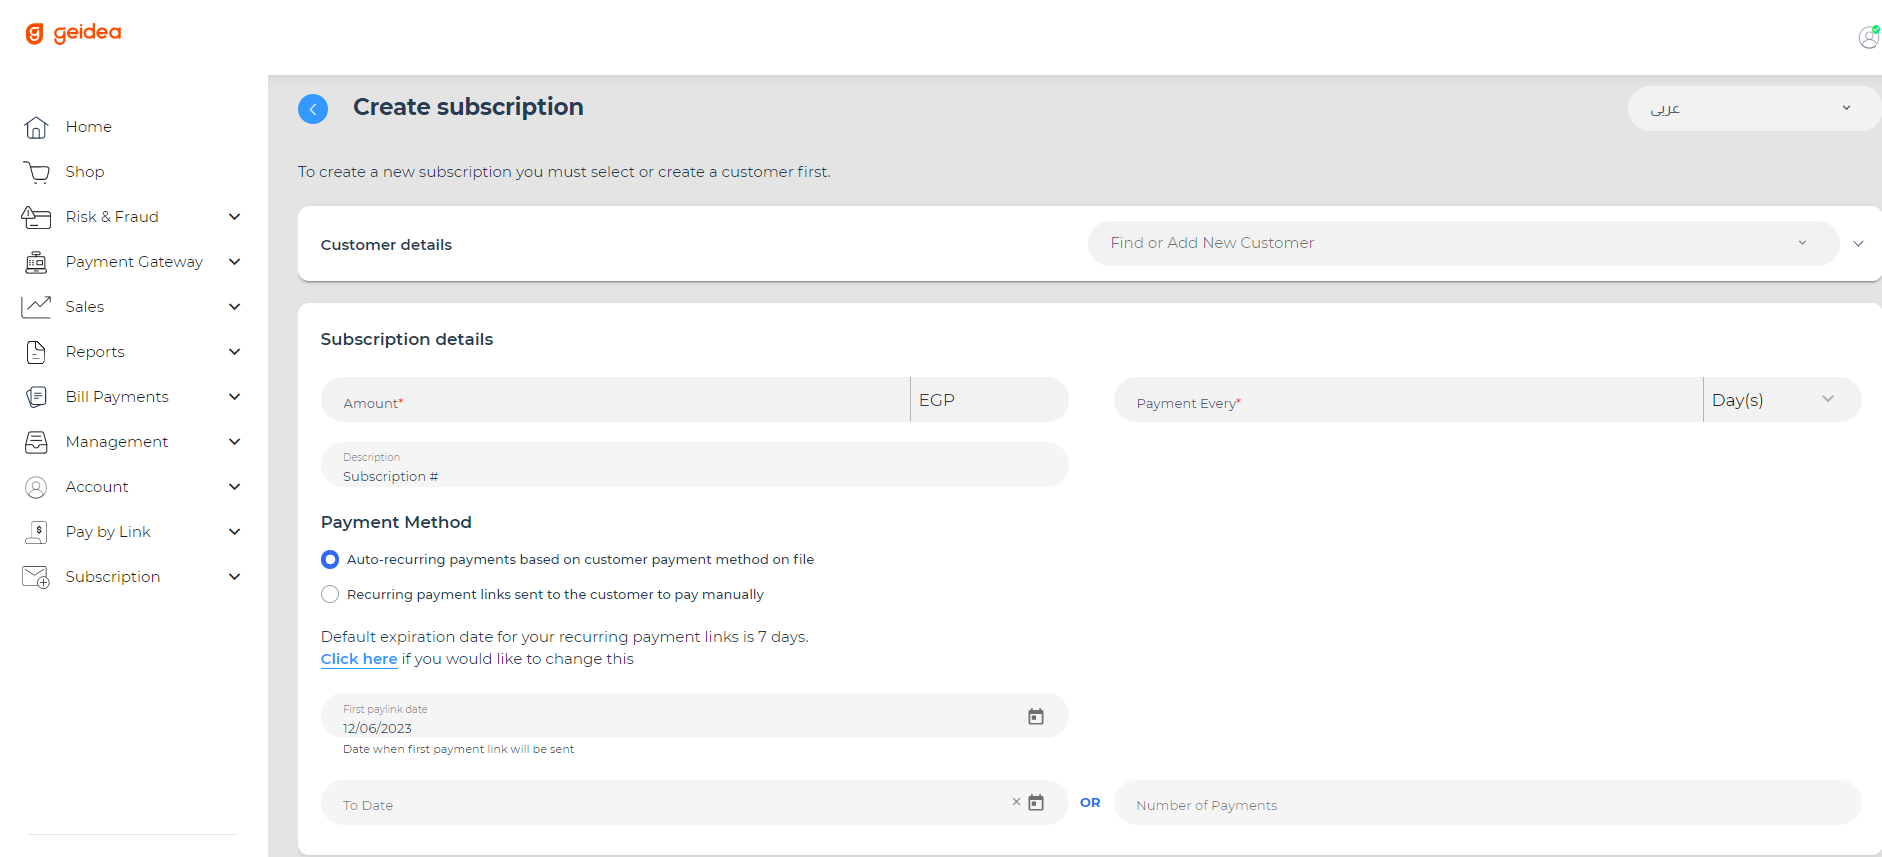
Subscription Details: Enter the subscription details in the fields below:
Amount and Currency: Specify the payment amount and currency that the merchant wishes to receive.
Cycle and Frequency: Choose the intervals at which the payments should occur. The cycle can be set as 1, 2, 3, and so on, while the frequency can be daily, weekly, monthly, or yearly. For example, if the cycle is set as 1 and the frequency is monthly, it means payments will be scheduled once a month.
Description: Provide a description for the subscription. This field is optional but can be filled by the merchant for their convenience. If left blank, the field will be automatically populated with the subscription number.
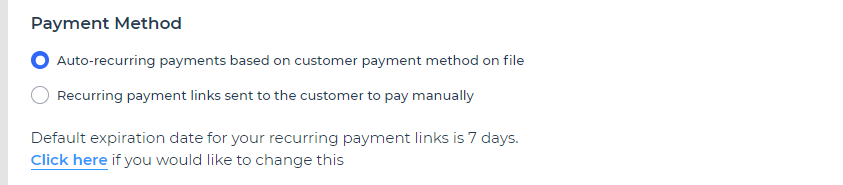
Payment Method / Mode of Payment: Select the preferred payment method or mode of payment for scheduling payments. There are two options available:
- Allow Recurring Payments, and 2.
- Allow Recurring Payment Links.
Change the Default Expiry Date: You have the flexibility to adjust the expiry date for the payment link. By default, it is set as 7 days, but you can change it as needed.
First Pay Link Date: This is the start date of the subscription. The first payment link related to the subscription will be sent on this date. You can choose the present day or any future date that suits your preference.
End Date: This field is optional. It represents the end date of the subscription. After this date, no more payment links or requests will be sent to the customers. If you don't want to set a specific end date, you can leave it blank or use the "Number of Payments" field instead.
Number of Payments: This field is also optional. Enter the number of payments you wish to collect or the number of payment links you want to schedule.
- You have two options:
i) Create a new customer by filling in the necessary details.
ii) Alternatively, select a customer from the dropdown list, which displays your recently created customers. If you choose this option, you can also update the customer information if any changes are required.
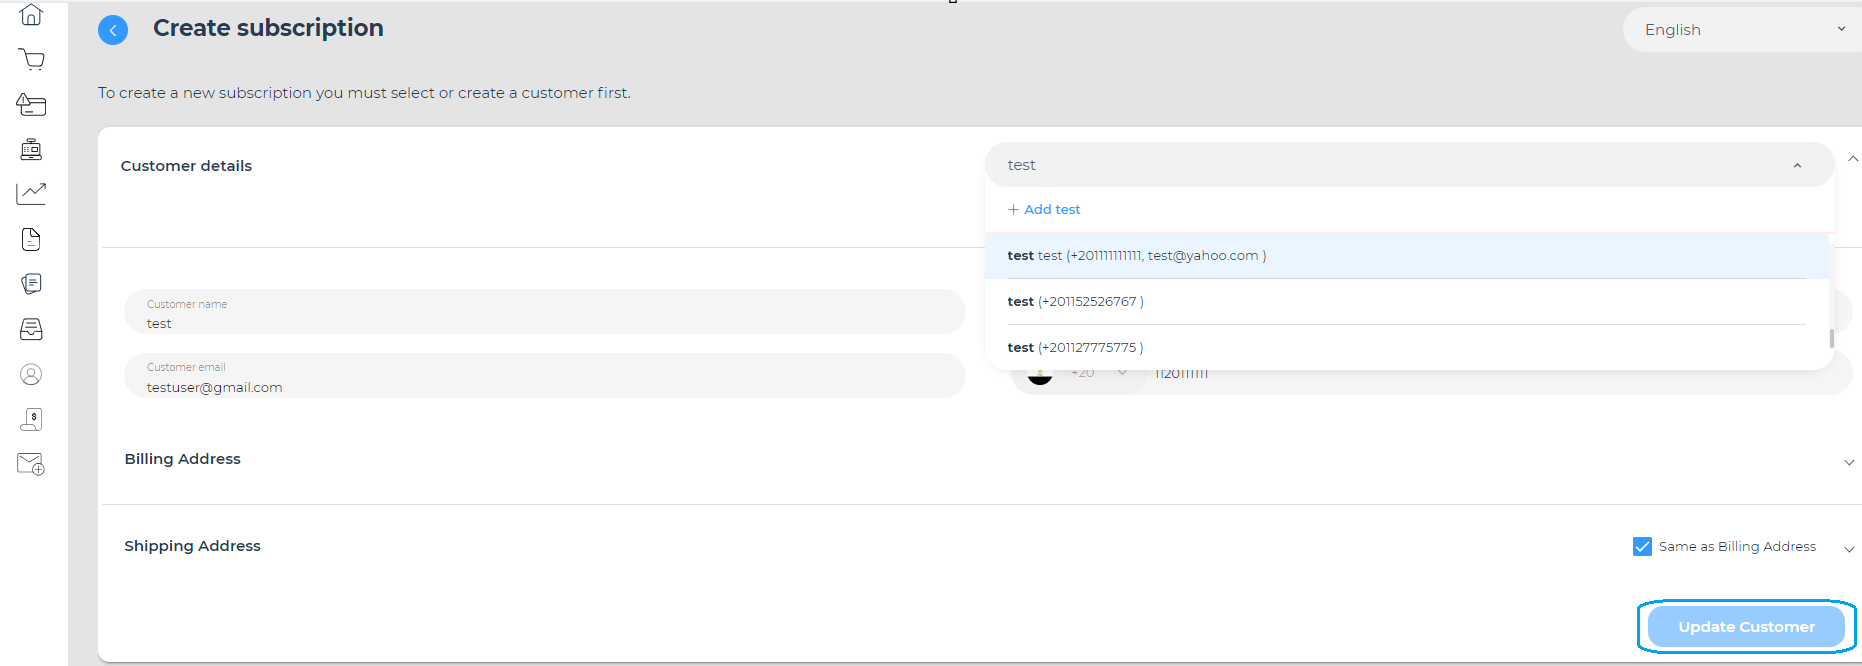
To ensure successful updates, please make sure that the customer information you provide is unique. If there is a duplicate combination of email and phone number, you will encounter an error message stating, "Unable to update the customer, as a customer with the same email and phone number combination already exists.
- Once you have selected or added a customer, the next step is to enter the details of the subscription. This involves providing information such as the payment amount, currency, cycle, frequency, and a description for the subscription.

Amount and Currency: Enter the payment amount and the currency in which the merchant wishes to receive payment.
Payment Every (Cycle) and Frequency: Specify the intervals at which the merchant wants to receive payment. The cycle values can be 1, 2, 3, and so on, while the frequency can be days, weeks, months, or years. For example, if the cycle is set as 1 and the frequency is set as "Month," it means payments will be scheduled once a month.
Description: Provide a description for the subscription. This field is optional and can be filled by the merchant as per their convenience. If left blank, the field will be automatically populated with the subscription number after creation.
You have the flexibility to choose your preferred payment collection mode. There are two available options:
Enable Auto Recurring Payments based on customer Payment Method on File Enable automatic recurring payments by charging the customer's card at scheduled intervals. This option requires prior agreement and consent between the merchant and the customer, where the customer's payment method is saved for future auto charges. The first payment link is sent to the customer via email, SMS, or both, and once paid, the payment method is saved for consecutive payments. This option is available for merchants with tokenization enabled (part of Merchant Initiated Transactions).
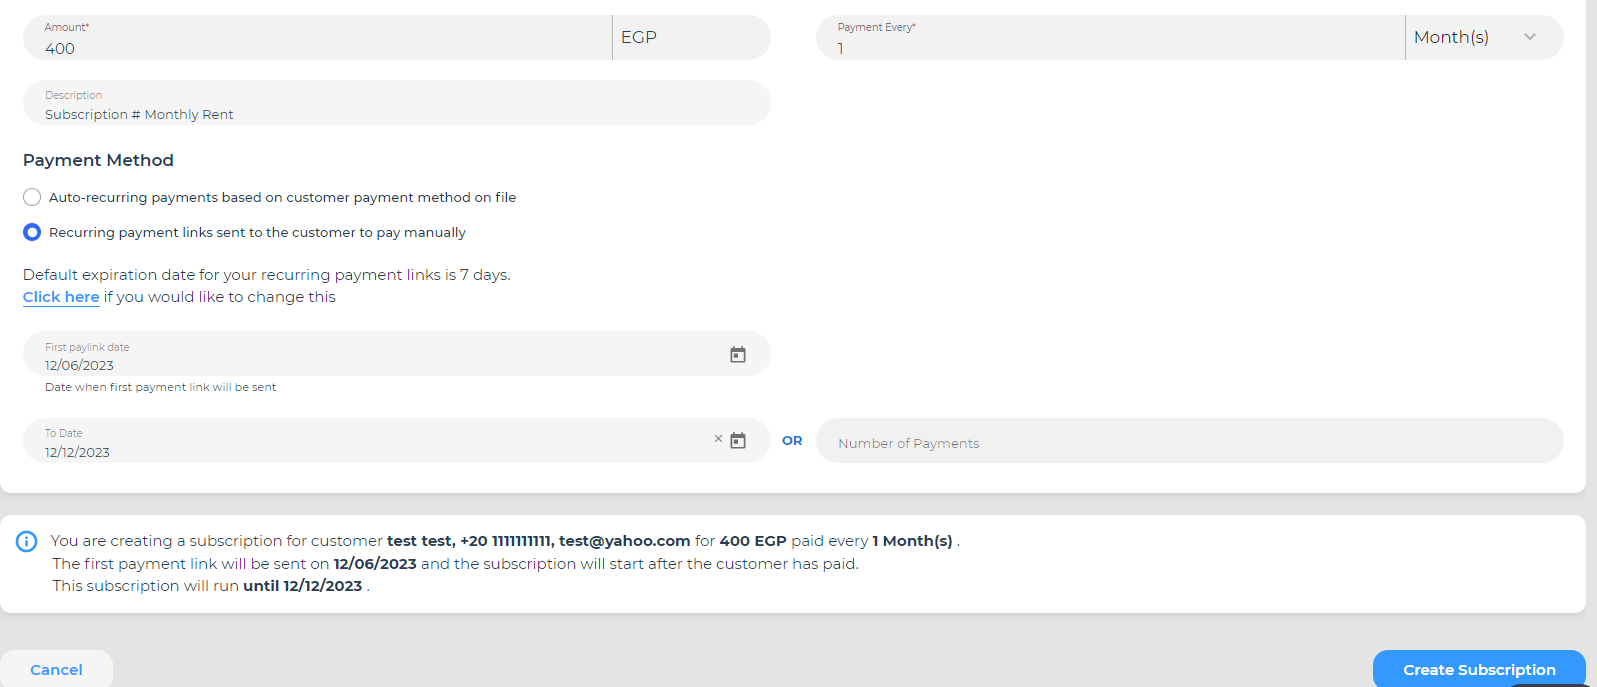
Recurring Payment links sent to Customers to pay manually: Schedule payment links to be sent to customers at regular intervals. Customers can choose their preferred payment method and manually initiate payment using the provided links. These transactions are customer-initiated, requiring the customer's presence to pay each payment link.

You can set an expiry date for payment links and define the start and end dates for the subscription. The default expiry is set to 7 days, but you can change it as needed.
The first payment link should be set after the expiry date and can be scheduled for the present day or any future date. The end date of the subscription is optional. If provided, no more payment links will be sent after that date.
Alternatively, you can specify the number of payments instead. Leaving the end date and number of payments blank allows for ongoing payments indefinitely.
The summary of the subscription details will be displayed in the Dynamic Text section for your review. If any modifications are needed, you can easily go back and edit the relevant fields before finalizing the subscription.
Once the subscription is created, you will be redirected to the Subscriptions Dashboard screen. This screen gives you an overview of all your subscriptions and provides options for managing them. From here, you can easily monitor and control your subscription activities.

Email Notifications for Recurring Payment Links
Customers will receive email notifications at every stage of their subscription.
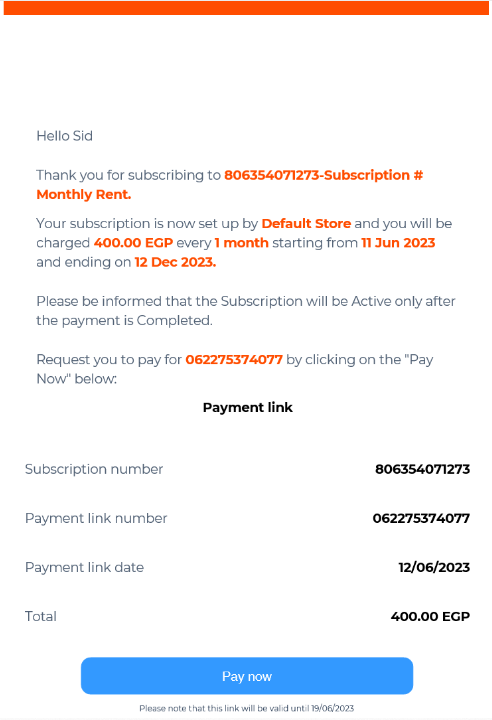
Once a subscription is created and the payment link is sent to the customer, they will receive an email containing detailed information about the subscription. The email will include a Pay Now button for making the payment, and the expiration date of the payment link will be mentioned below the button.
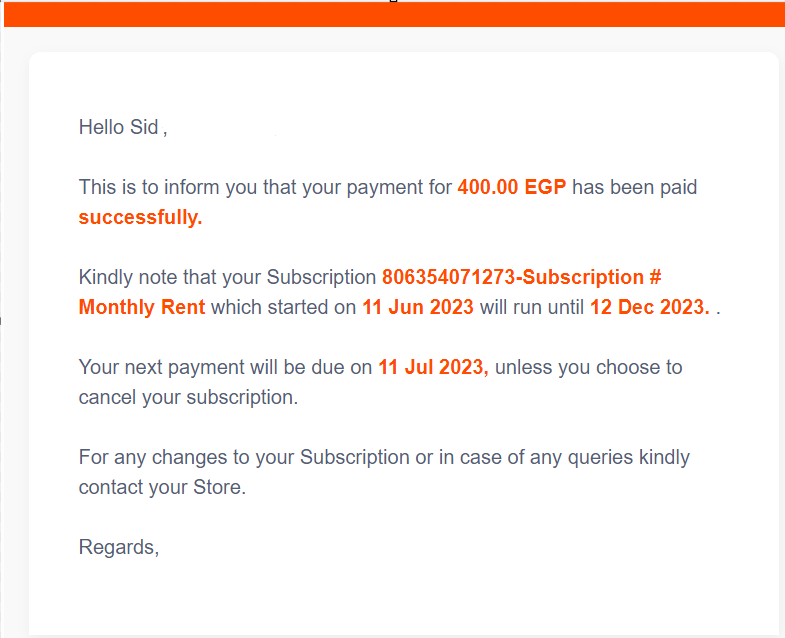
After a successful payment, customers will receive an email notification confirming the payment and specifying the next payment due date. Here is an example of the email you can expect to receive:
If the customer fails to make the payment before the due date of the payment link, the subscription will be automatically canceled. After cancellation, no additional payment links or payment requests will be sent to the customer.
Set up Auto-Recurring Subscription with Customer's Saved Payment Method
To create a subscription with recurring payments, follow the same steps as outlined above (Step 1 to Step 5).
In Step 5, select "Auto-recurring payments based on customer payment method on file" as the preferred payment mode. Provide all the required details, and then click "Create Subscription" to proceed.
After creating the subscription, you can view it on the Subscription Dashboard with the status "Created" and the payment method set as "Auto Recurring Payment".
Once the subscription is created, the customer will receive a payment link to complete the transaction using their card. It is recommended to use auto recurring payments, and upon the initial transaction, the customer's payment details will be securely stored for future deductions.
Before proceeding, it is important for the merchant and customer to agree on the terms and conditions, and the merchant should have obtained the customer's consent to store their payment information.
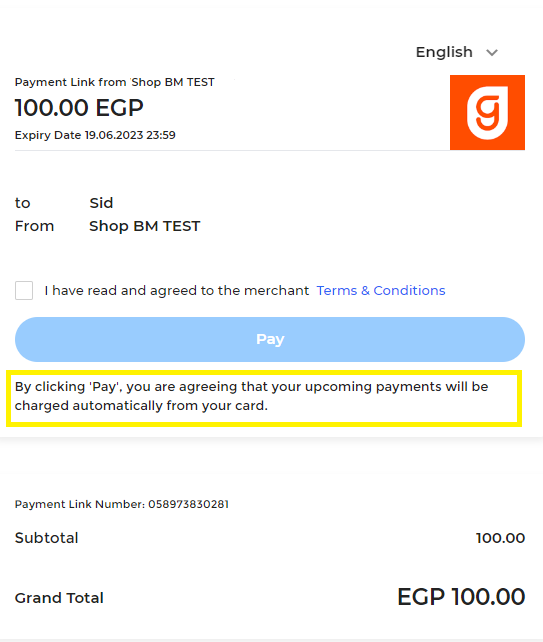
During the first payment, the customer will be informed about the automatic charging feature on the payment page.
Once the initial payment is done, on the subsequent scheduled recurring due date, the customer's stored payment method will be automatically charged. They will then receive a confirmation email informing them about the successful transaction.

Different Status for Subscription
Merchant can see multiple statuses for the Subscriptions he created.
- Created - Once all the required information is filled and Subscription is created the Status will be set as "Created"
- Active - When the Customer Pays the first Payment Link as part of the Subscription, the Status will be set as "Active"
- Completed - When all the Payments have been completed and no more payments are pending then the Subscription Status will be set as "Completed"
- Cancelled - When the Merchant cancels the Subscription.
- Auto Cancelled - When Payment link expires or any of the auto-recurring Payment Retries fail, the Subscription status moves to Autocancelled.
Updated about 1 year ago